
Chapter 6 Overall Workflow
6.1 Before you start - a note on data storage
If possible, when working with Git and DevOps, store your data in SQL server and read just the data you need from the server.
If you store data files in your repo, Git will version control all your data as well. This means that:
- If you delete your data they will still be in your Git history and therefore recoverable. This is problematic if you have data which you need to be able to delete.
- If your data files are large, your git repository becomes large. This increases the time and internet needed to interact with your work on DevOps, particularly for
clone,pushandpullcommands. It also makes R Shiny apps slow to deploy. - Even if your data files are not particularly large, if you update them frequently git remembers every version and this can add up and cause the same issues as having large files. Similarly, multiple smaller files can start to add up and cause the same problems.
- Prevention is better than a cure - use SQL server if you can.
If you add data to Git and DevOps you should also think about who else this gives data access to: anyone with access to the DevOps project will gain access to the data in your area and DevOps project access is managed centrally. Therefore it is a bad place for personal or sensitive data because you cannot control access to it.
If you use GitHub instead of DevOps everything will be public so all data included in the repo must be published.
The above points apply to input data and output data from your code:
You will always want to store input data somewhere sensible where the right people can access them. Try to choose SQL server.
You may want to store output data on SQL server, depending on what you are using them for.
- If you do not want your output data on SQL server consider having a folder included in your .gitignore file (see the chapter “Version Control Using Git - The Basics”) which git does not track.
- If you use a git ignored folder you need to treat its files as temporary files - they may not be up to date with the code so you should always rerun them before using. Make sure everyone in your team knows this so they are equally careful.
- You can copy any outputs you need to keep to Teams or SharePoint for future reference. If you do this, you may want to tag the commit (see below) which produced them so you can easily access the code and rerun in future if necessary.
6.2 Starting a DevOps project
Make a project in DevOps
Clone the repository to a local directory. Open your desired folder in File Explorer, right click and select “Git Bash here”.
Cloning makes a copy of your project from DevOps on your computer which allows you to work on the code. It also records the location of your DevOps repository on your computer which allows you to share (push) your changes back to DevOps once you have done some work. This is a bit like OneDrive syncing your files with the cloud apart from the fact it only happens when you specifically tell it to.
We recommend that, to get the most from DevOps, you use it from the start of a project. This allows a continuous process of making small changes and having them QA’d, instead of doing a huge QA right at the end. However, you may have started a repository locally and wish to put it on DevOps. In that case you can push to DevOps.
- Add the DevOps repository as your “remote”
- Push your local changes up to DevOps (make sure you’ve committed your changes first!)
6.3 Making Branches
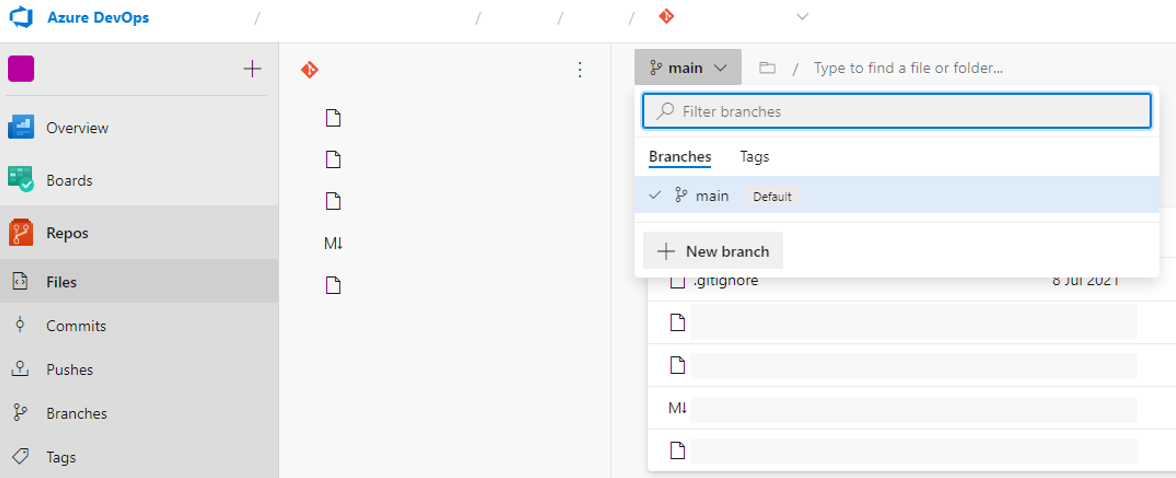
- To create a new branch in DevOps, go to repos, click on the drop-down menu next to the current branch name, and click ‘New Branch’.
- Once the branch has been created, you will have to git pull to pull these changes to your local repository.
Your local repository will now “know” about the branch you just made.
- Checkout the branch you made on DevOps (make sure the branch names are the same).
6.4 Making Changes
Make your code changes
Commit your changes. You can make as many commits as you need to. As ever, make them roughly self-contained chunks that would be easy for someone to review piece by piece.
6.5 Merging
Reminder: “master” branch vs “main” branch
Repositories usually have either a “main” or a “master” branch. The two terms refer to the same thing but “main” is considered more inclusive language. Our examples in this chapter will refer to a “main” branch rather than a “master” one.
- When you’ve made enough changes to complete your work item checkout the main branch in your local repository and git pull in case anyone else had made changes.
- Switch back to your working branch. Merge any changes from main.
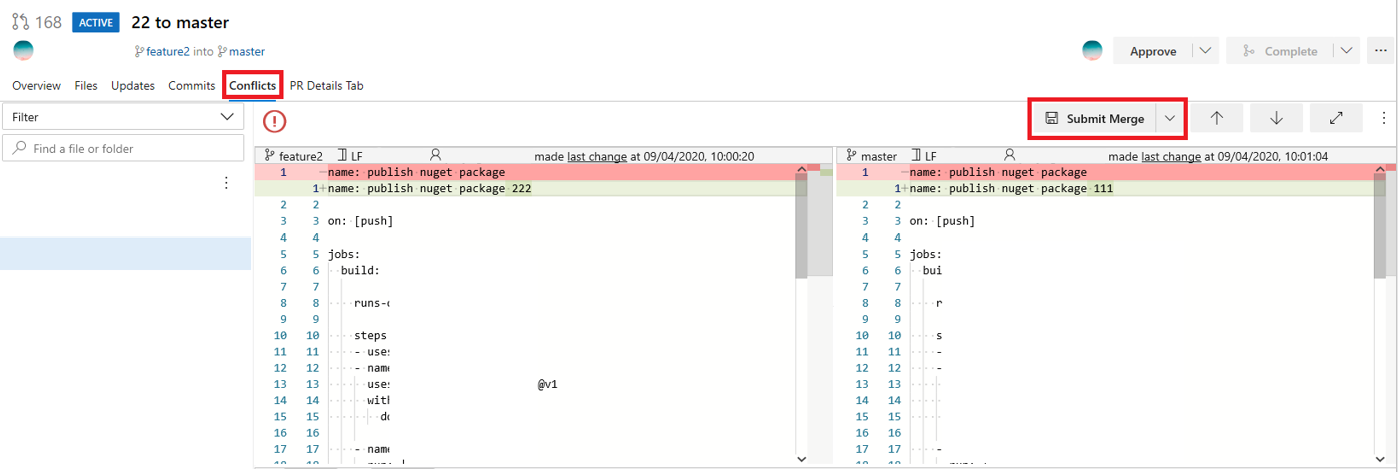
- Sort out any merge conflicts. The command
will list the files that have merge conflicts. Open the files with the conflicts, and search them for “<<<<”. Everything from the next line up until a line of “====” will be from the main branch. Everything from the “====” line until “>>>>” will be from your working branch. Work through the code to make sure that you keep all the necessary changes. There may be changes from main and your branch that you want to keep, so don’t just idly delete things!
Add and commit the changes.
6.6 Getting your changes back on to DevOps
- Push (send) your changes to DevOps
On DevOps make a pull request for your branch
Have someone review your work. If any changes are required, go back to Making Changes and work from there again.
Merge your branch into main
Find some more work, go back to the top and start again.
6.7 Tags
Tags effectively label specific Git commits so you can easily find them again in future. In DevOps they show up in the Repos section under Tags. They are valuable if you’ve produced some outputs and wanted to label the code which produced them for future reference. If you include “/” in your tag names, they will show up in folders on DevOps.
To create a tag on your computer:
Make sure the current checked out branch/commit is what you want to tag then run the following:
Note that tag_name does not need quotation marks around it but the tag description should be text surrounded by quotation marks.
You then need to tell DevOps about the tag. You can do this with:
If you have multiple tags you can tell DevOps about them all in one go using:
To create a tag on DevOps:
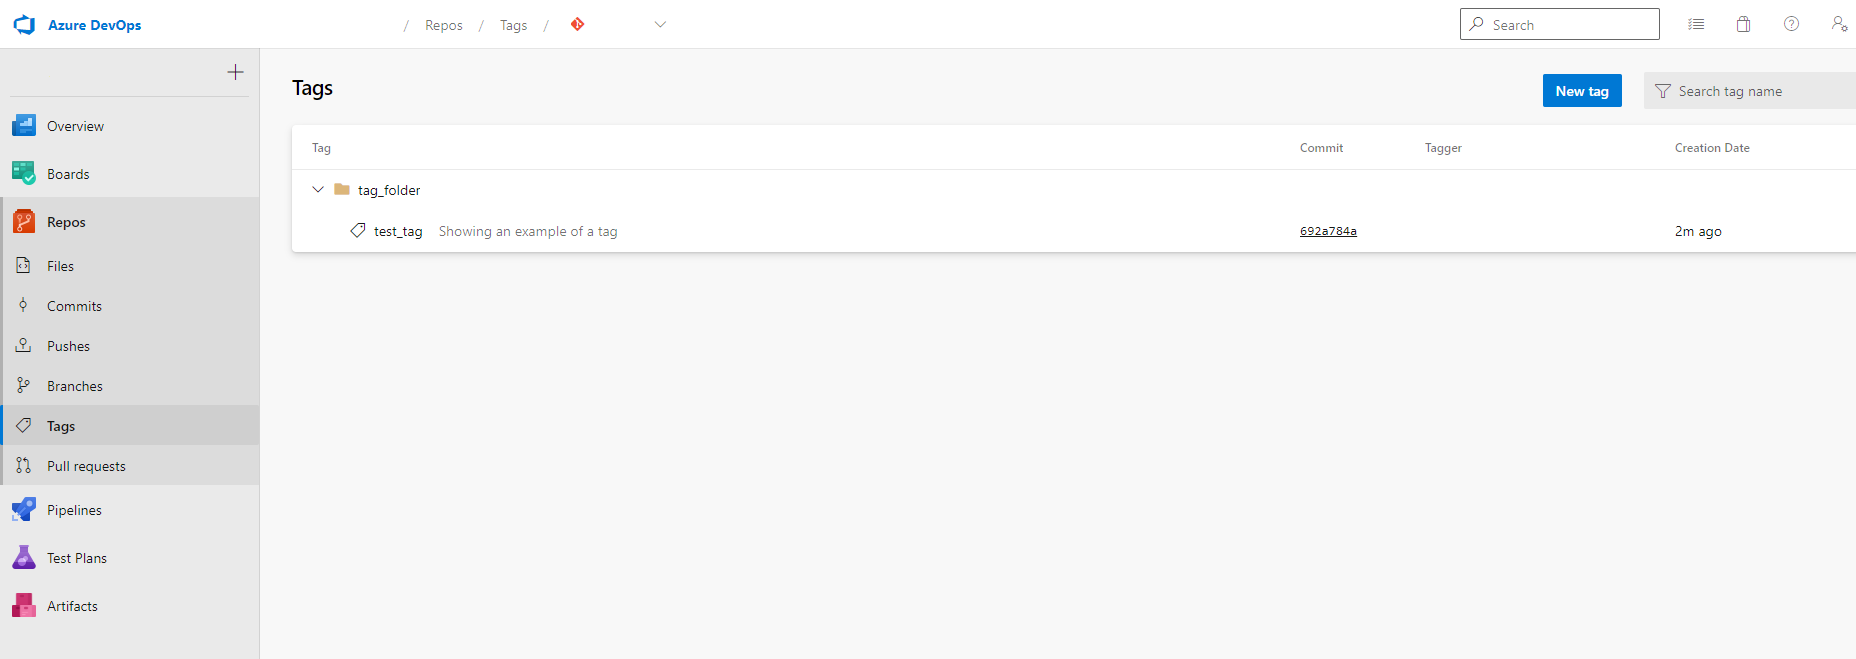
Go to the Tags page.
Click the “New tag” button.
Give your tag a name.
Choose what you want your tag to be based on using the drop down menu. If you choose a branch it will be the most recent commit on that branch. If you need an older commit you will need to find the commit reference (SHA) and search for it.
Add a description to explain why the tag was added.
If you want to use your tag to access a past version of your code:
On DevOps go to the “Tags” page and click on the tag you want to look at the code for. This will take you to a page showing a folder of files - these are the version of files that you applied your tag to.
If you wish to access the code on your computer, it is just like checking out a branch. Open git bash and run:
- When you checkout a tag it sets all your local files to the version that was tagged. If you do this, you will get a warning message from git saying you are in “detached head state” which essentially means you are not on any branch. If you wish to continue working on these files you will need to put them on a branch: the warning message about “detached head state” explains this. However, for reference, you will need a git switch command to put the work on to a new branch: