Personal cluster with RStudio and odbc / DBI
Please be aware that the Databricks platform is regularly updated and may look different from the guidance included on this site. If you notice any discrepancies between the content on this site and the Databricks platform, please let us know by contacting statistics.development@education.gov.uk.
The following instructions set up an ODBC connection between your laptop and your Databricks cluster, which can then be used in RStudio to query data using an ODBC based package.
If your code makes use of the sqlQuery() function, you will need to use an alternative set up method using the RODBC package. You can find more information on this in the Troubleshooting section at the end of this page.
Personal clusters can be used within the Databricks environment, or through RStudio. You can set one up yourself if you don’t have access to a SQL warehouse or shared cluster.
A personal cluster is the most versatile type of compute and the most easily accessible for analysts within the Department. If you are considering converting an existing R / RStudio process to the Databricks environment a personal cluster is the best choice as you will be able to run like for like code on both environments.
Within the Databricks environment personal clusters are able to use SQL, R, Python and Scala, and are more flexible than SQL Warehouses. Using this ODBC method from RStudio you will be able to query data using similar methods as you currently use when connecting to Microsoft SQL server. Usually this will take the form of submitting SQL queries to Databricks from R code running on your laptop.
Please note: This guidance should be followed if you wish to run R scripts from RStudio against data held against tables in Databricks, or if you wish to work with a file held in a Databricks volume. You can read more about volumes on our Databricks fundamentals page.
You can use data from Databricks with R code in two different ways:
- In scripts or notebooks via the Databricks environment
- In RStudio via an ODBC connection
Pre-requisites
You must have:
- Git installed
- RTools installed from the Software Centre (latest version is RTools 44)
- Access to Databricks and the data you’ll be working with
- Access to a personal cluster on Databricks
- R and RStudio downloaded
- The
odbc,DBIandusethispackages installed in RStudio
Compute resources
When your data is moved to Databricks, it will be stored in the Unity Catalog and you will need to use a compute resource to access it from other software such as RStudio.
A compute resource allows you to run your code using cloud computing power instead of using your laptop’s processing power. This means that using compute resources can allow your code to run faster than it would if you ran it locally, as it is like using the processing resources of multiple computers at once. On this page, we will be referring to the use of personal clusters as the compute resource to run your code.
Personal clusters
A personal cluster is a compute resource that supports the use of multiple code languages (R, SQL, Scala and Python) in the Databricks environment and can be set up to connect to RStudio as well. You can create your own personal cluster within the Databricks interface.
When you set up your personal cluster, you will be asked to select a runtime for that cluster. Different runtimes allow you to use different features and package versions. Certain packages are installed by default on a personal cluster and do not need to be installed manually. The specific packages installed are based on the Databricks Runtime (DBR) version your cluster is set up with. A comprehensive list of packages included in each DBR is available in the Databricks documentation.
Compute resources, including personal clusters, have no storage of their own. This means that if you install libraries or packages onto a cluster they will only remain installed until the cluster is stopped. Once re-started those libraries will need to be installed again.
An alternative to this is to specify packages / libraries to be installed on the cluster at start up. To do this click the name of your cluster from the ‘Compute’ page, then go to the ‘Libraries’ tab and click the ‘Install new’ button.
Use of compute resources are charged by the hour, and so personal clusters have been set to shut down after being unused for an hour in order to prevent unnecessary cost to the Department.
Process
There are four steps to complete before your connection can be established. These are:
- Creating a personal compute resource (if you do not already have one)
- Installing an ODBC driver on your laptop to enable a connection between your laptop and Databricks
- Modifying your .Renviron file to establish a connection between RStudio and Databricks
- Adding connection code to your existing scripts in RStudio
Before following the process, ensure you are on the correct Databricks Workspace by clicking on the Workspace drop-down, usually found in the top right of the Databricks interface. Make sure you are in the production Workspace by checking that you are on the Workspace that begins s101p01 — the p indicates production.
If you are in the wrong Workspace (e.g., one starting with s101d01 for development), you will not be able to access the catalog_40_copper_analyst_training catalog.
Creating a personal compute resource
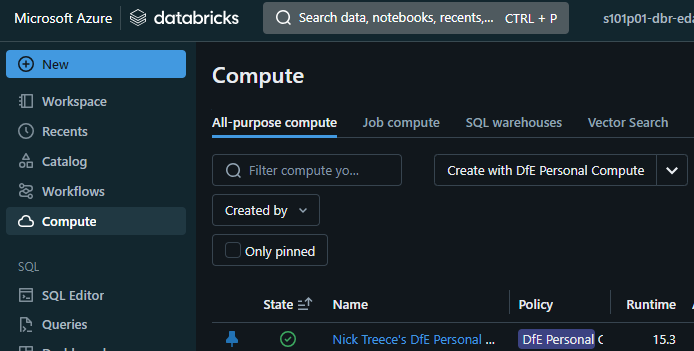
- To create your own personal compute resource click the ‘Create with DfE Personal Compute’ button on the compute page
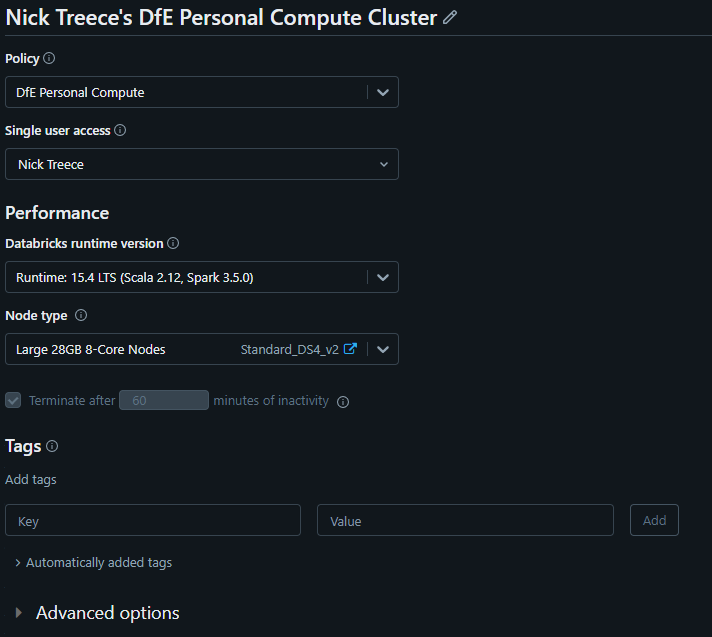
You’ll then be presented with a screen to configure the cluster. There are 2 options here under the performance section which you will want to pay attention to; Databricks runtime version, and Node type
Databricks runtime version - This is the version of the Databricks software that will be present on your compute resource. Generally it is recommended you go with the latest LTS (long term support) version. At the time of writing this is ‘15.4 LTS’
Node type - This option determines how powerful your cluster is and there are 2 options available by default:
- Standard 14GB 4-Core Nodes
- Large 28GB 8-Core Nodes
If you require a larger personal cluster this can be requested by the ADA team.
- Standard 14GB 4-Core Nodes
Open the ‘Advanced’ drop-down and ensure Access mode is set to ‘Manual’ and choose ‘Dedicated’.
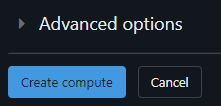
Click the ‘Create compute’ button at the bottom of the page. This will create your personal cluster and begin starting it up. This usually takes around 5 minutes
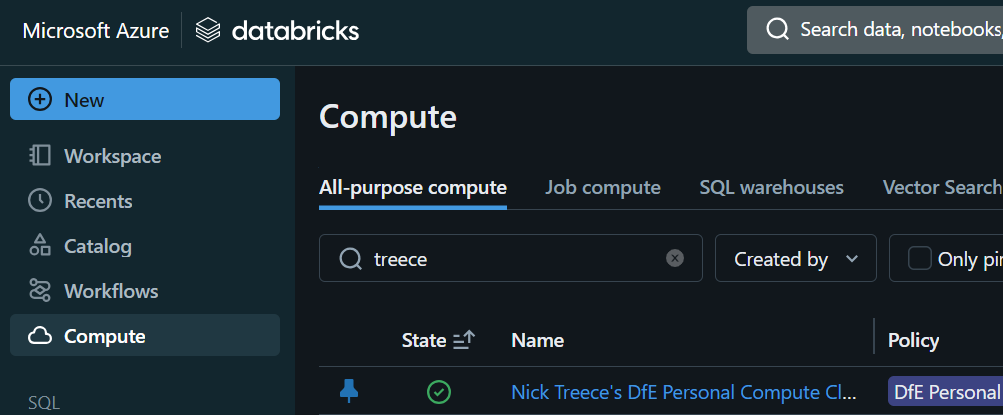
Once the cluster is up and running the icon under the ‘State’ header on the ‘Compute’ page will appear as a green tick
Setting up the ODBC driver
If you have previously set up an ODBC connection, or followed the set up Databricks SQL Warehouse with RStudio guidance, then you can skip this step.
Open the Software Centre via the start menu
In the ‘Applications’ tab, click
Simba Spark ODBC Driver 64-bit
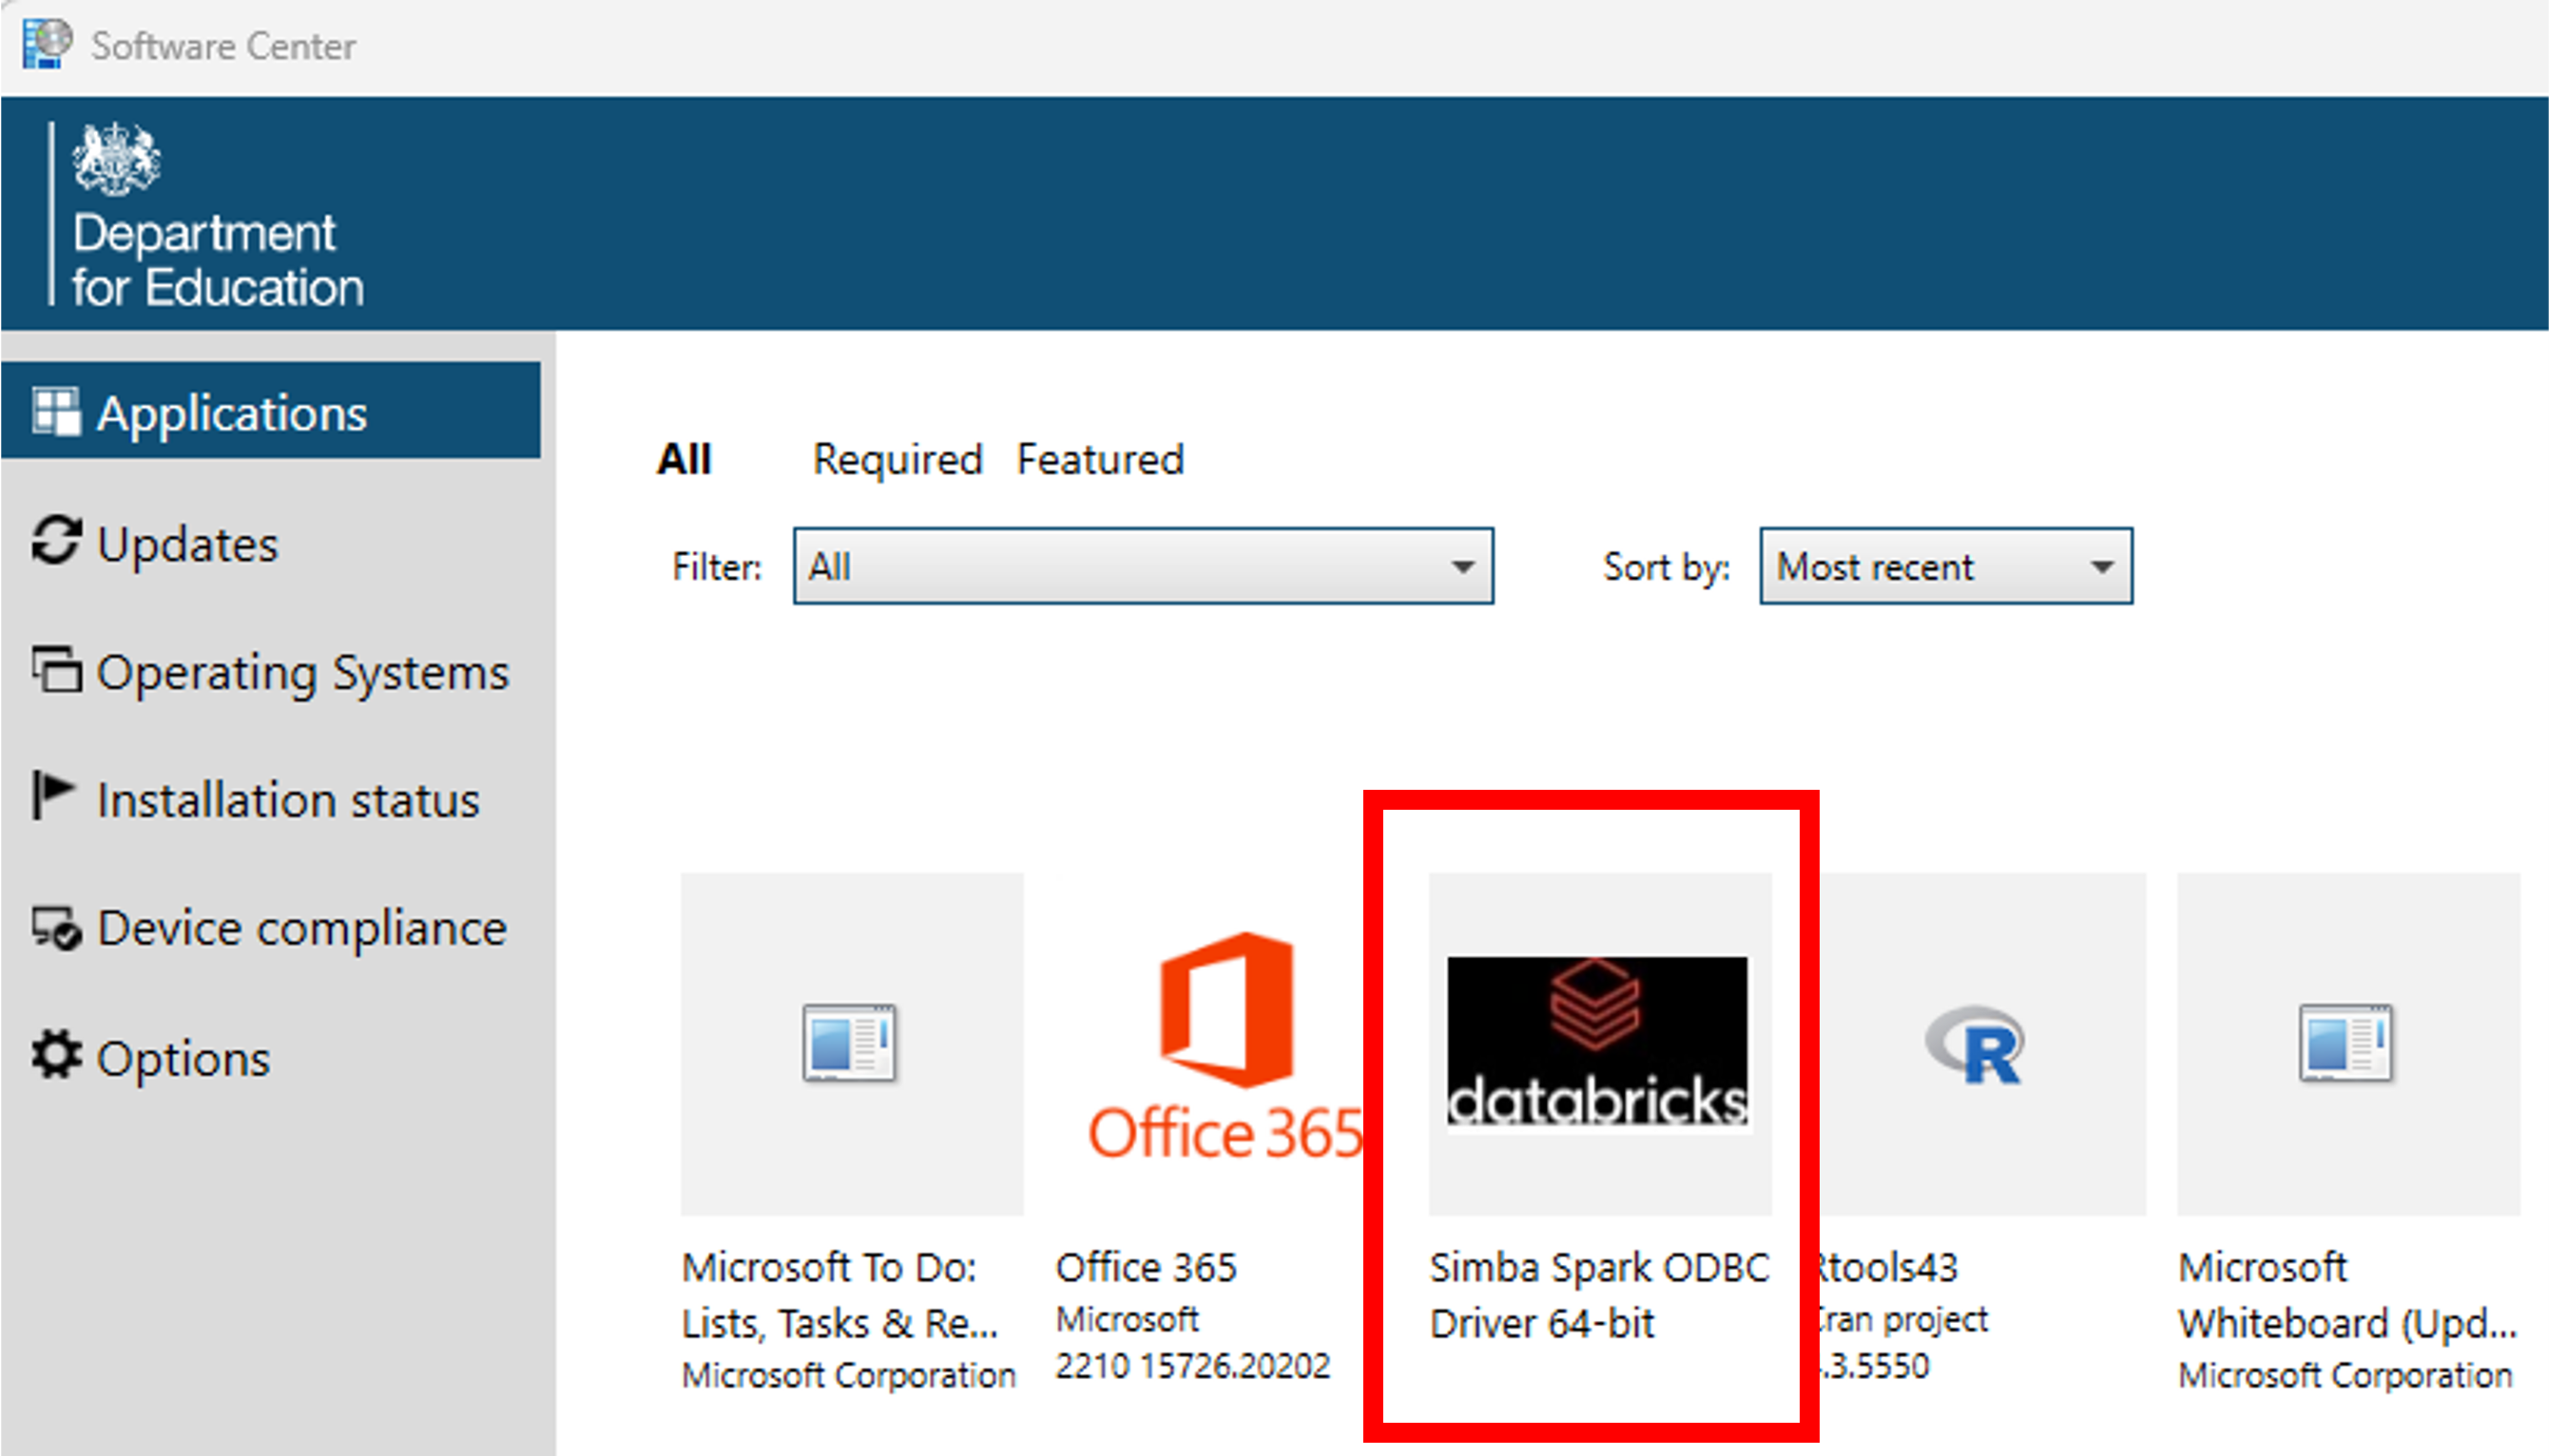
- Click install
Establishing an RStudio connection using environment variables
The ODBC package in RStudio allows you to connect to Databricks by creating and modifying three environment variables in your .Renviron file.
If you have previously established a connection between a SQL Warehouse and RStudio, then some of these variables will already be in your .Renviron file.
To set the environment variables, call usethis::edit_r_environ(). You will then need to enter the following information:
DATABRICKS_HOST = "databricks-host"
DATABRICKS_CLUSTER_PATH = "databricks-cluster-path"
DATABRICKS_TOKEN = "personal-access-token"
Once you have entered the details, save and close your .Renviron file and restart R (Session > Restart R).
Everyone in your team that wishes to connect to the data in Databricks and run your code must set up their .Renviron file individually, otherwise their connection will fail.
The sections below describe where to find the information needed for each of the environment variables.
Databricks host
The Databricks host is the instance of Databricks that you want to connect to. It’s the URL that you see in your browser bar when you’re on the Databricks site and should end in “azuredatabricks.net” (ignore anything after this section of the URL).
Do not include the / at the end of the URL when you add it to the .Renviron file
Databricks cluster path
In Databricks, go to Compute in the left hand menu, and click on the name of your personal cluster:
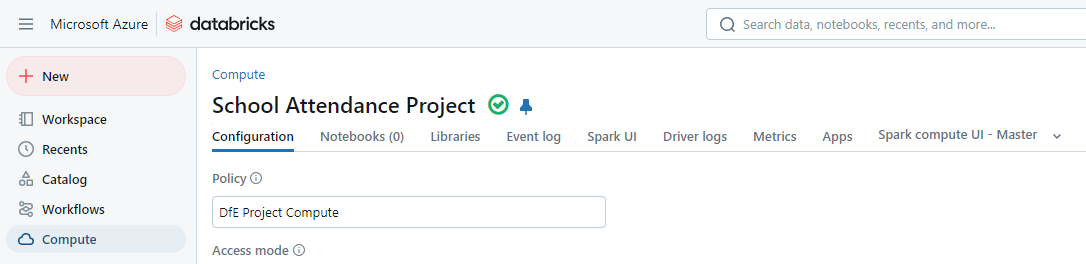
On the Configuration tab, scroll to the bottom of the page and click Advanced Options > JDBC/ODBC > HTTP Path, and copy the text in the box. This is your cluster path.
Databricks token
The Databricks token is a personal access token.
A personal access token is is a security measure that acts as an identifier to let Databricks know who is accessing information from the personal cluster. Access tokens are usually set for a limited amount of time, so they will need renewing periodically.
In Databricks, click on your email address in the top right corner, then click ‘User settings’
Go to the ‘Developer’ tab in the side bar. Next to ‘Access tokens’, click the ‘Manage’ button
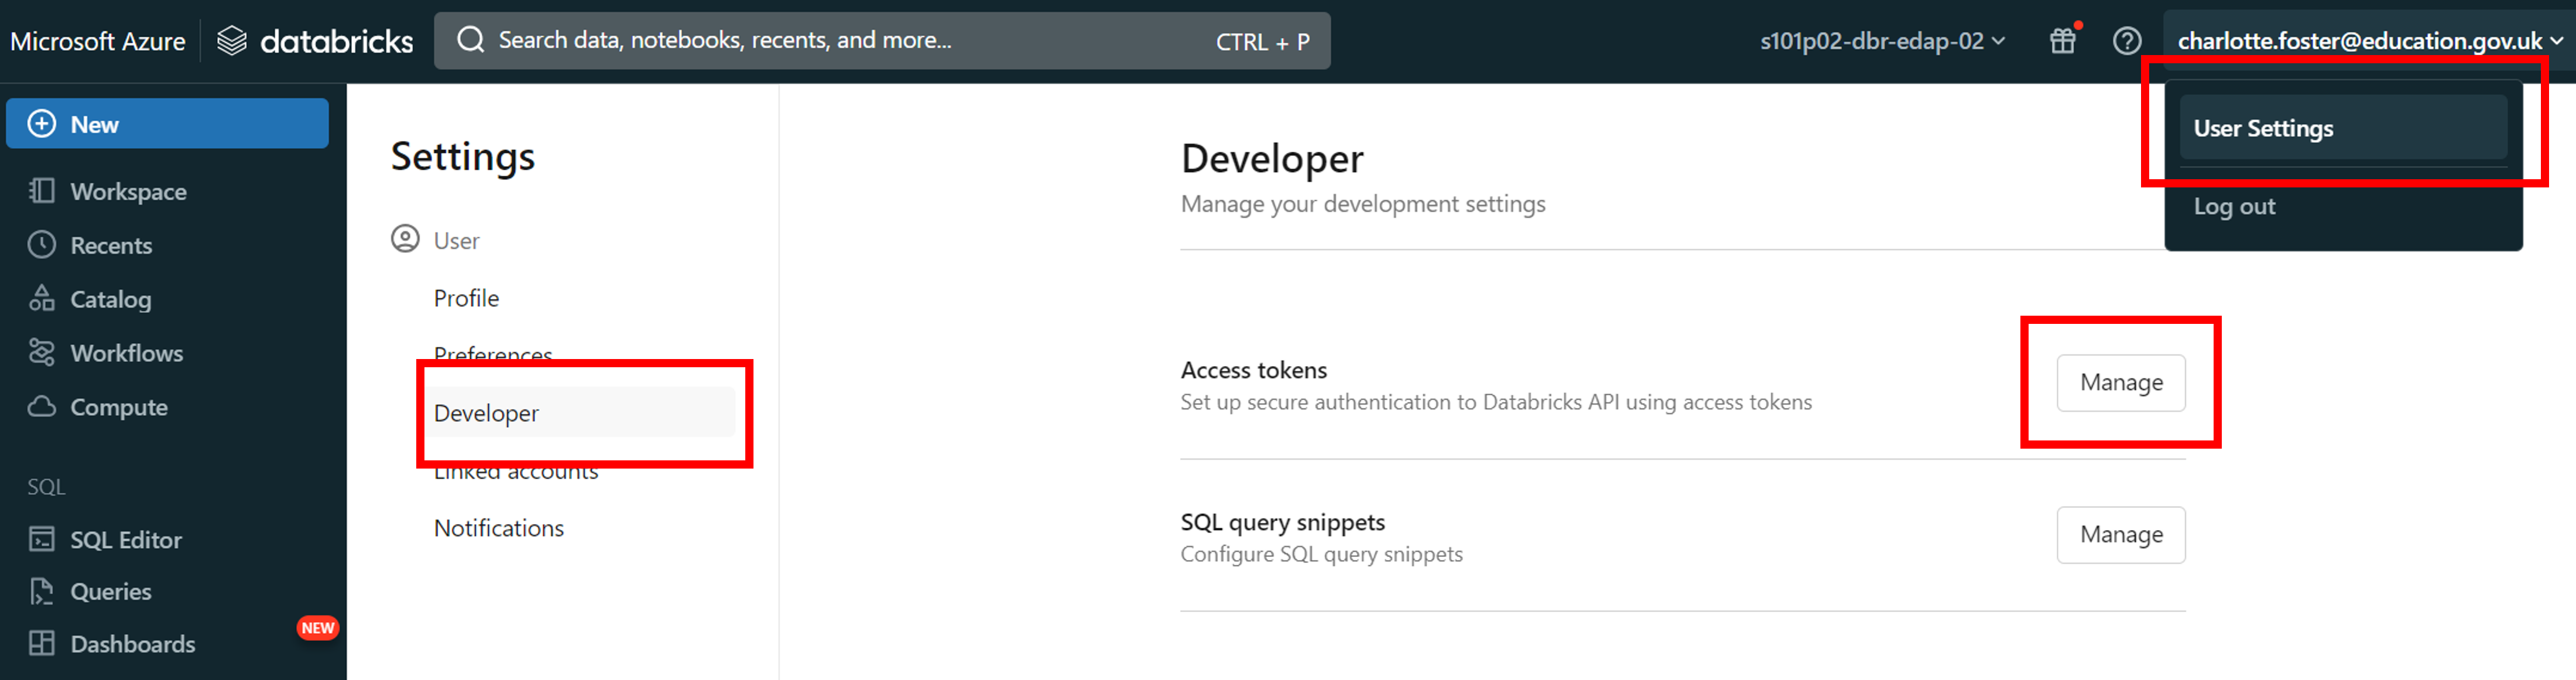
- Click the ‘Generate new token’ button
The following window should appear:
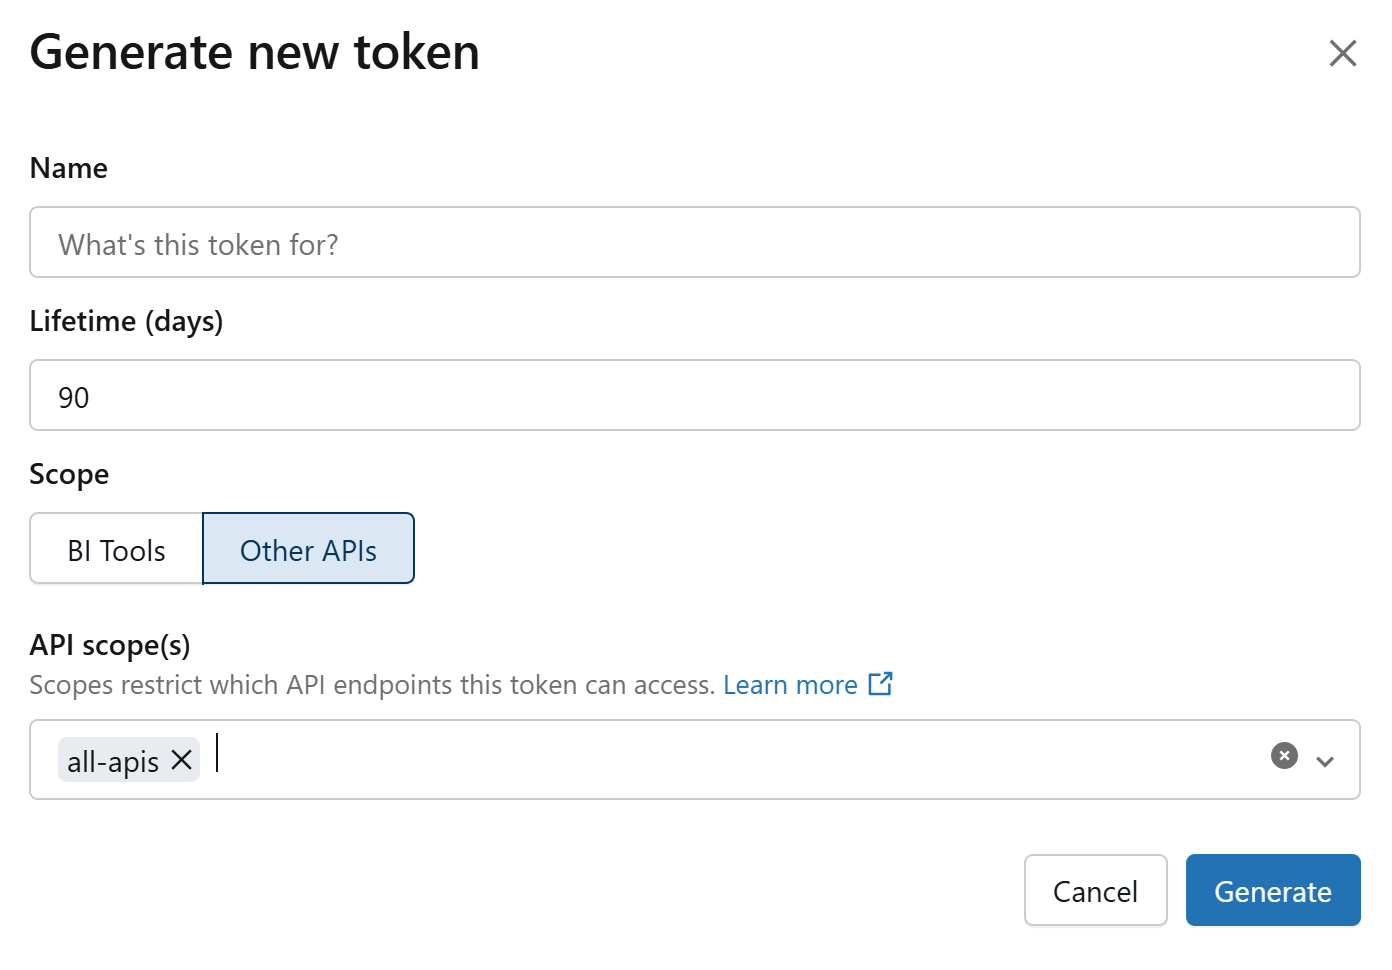
- Give the token a sensible name so that you can identify it in your list of tokens.
- Increase the Lifetime to something reasonable (90 days is industry standard), every time the token expires, you will have to follow this guidance again to set up a new token and reconnect to Git, so choose something sensible.
- You should make sure that “all-apis” is selected under the API scope(s) heading.
When you have entered all of the required information, click “Generate” at the bottom of the window.
Note that access tokens will only last as long as the value for the ‘Lifetime (days)’ field. After this period the token will expire, and you will need to create a new one to re-authenticate. Access tokens also expire if they are unused after 90 days. For this reason, we recommend setting the Lifetime value to be 90 days or less.
- Make a note of the ‘Databricks access token’ it has given you
It is very important that you immediately copy the access token that you are given, as you will not be able to see it through Databricks again. If you lose this access token before pasting it into RStudio then you must generate a new access token to replace it.
Pulling data into RStudio from Databricks
Now that you have enabled ODBC connections on your laptop, and enabled a connection between Databricks and RStudio, you can add code to your existing scripts to pull data into RStudio for analysis. If you have connected to databases before, this code will look quite familiar to you.
To access the data, we will make use of the odbc and DBI packages.
Include the following code in your R Script:
library(odbc)
library(DBI)

con <- DBI::dbConnect(
  odbc::databricks(),
  driver = "Databricks ODBC Driver",
  httpPath = Sys.getenv("DATABRICKS_CLUSTER_PATH"),
  useNativeQuery = FALSE #required for dbWriteTable to work
)

#dbExecute should be used for commands which don't return any data
#Tell odbc which catalog to use
dbExecute(con, "USE CATALOG catalog_40_copper_analyst_training;")

#Tell odbc which schema to use
dbExecute(con, "USE steam;")

#dbGetQuery should be used for queries that return results
#Show the tables in the selected catalog / schema
dbGetQuery(con, "SHOW TABLES;")

#Select data from a table
dbGetQuery(con, "SELECT * FROM games_description;")

#you can also get data from tables from any catalog / schema you have access to
#using the three-level namespace
dbGetQuery(con, "SELECT * FROM catalog_40_copper_analyst_training.steam.games_description;")Databricks have recently renamed their ODBC driver which may cause issues with the odbc R package while it catches up. We’ve added a line to the code above to specify the driver, which provides a fix in the meantime.
Troubleshooting
sqlQuery() doesn’t work
The sqlQuery function is part of the RODBC package, which is different to the odbc package that we have recommended in this guidance.
If you wish to keep using sqlQuery(), you will need to follow the instructions detailed in the Databricks Connect to Azure Databricks from Python or R page.
Your administrator has only allowed sql and python and scala commands on this cluster. This execution contained at least one disallowed language.
In the case of this error, check that your personal compute has been set up correctly. Click on the advanced drop-down within your personal compute configuration page and ensure that ‘Access Mode’ is set to ‘Manual’ and select ‘Dedicated’.
