Editing files
In this section, we’ll walk through the steps to edit a file on GitHub. We’ll use the example of editing the git-academy-log.md file in the github-sandbox repository. This process can be applied to any file in any repository.
Ensure you are still on the GitHub site for the github-sandbox repository.
Check you are on your
<github_username>/mainbranch by using the branches drop-down.Locate the git-academy-log.md file and click on it as below:

- Click the pencil icon (✏️), usually located on the right-hand side, to edit the file.

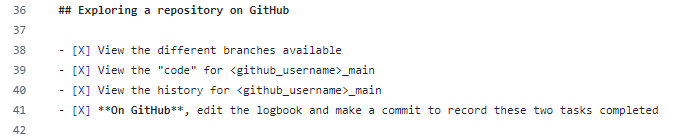
- Put an ‘X’ in each box under ‘Exploring a repository’ on GitHub.
- Find the ‘Commit changes’ button, normally at the top right of the page.
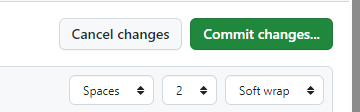
Enter a commit message describing the changes.
Click ‘Commit changes’ to save your edits and create a new commit. When you view the git-academy-log file, you should see that the boxes under ‘Exploring a repository on Github’ are now ticked.
To view the online changes that you have made locally, you will need to pull. This ensures that your local repository is up-to-date with the latest changes from the online repository.