----------------------------------------------------------------------------------------
-- Script Name:     Section 251 Table A 2019 - s251_tA_2019.sql
-- Description:     Extraction of data from IStore and production of underlying data file
-- Author:          Cam Race
-- Creation Date:   15/11/2019
----------------------------------------------------------------------------------------

----------------------------------------------------------------------------------------
--//  Process
-- 1. Extract the data for each available year
-- 2. Match in extra geographical information
-- 3. Create aggregations - both categorical and geographical totals
-- 4. Tidy up and output results
-- 5. Metadata creation
----------------------------------------------------------------------------------------Version control
Version control is our third core RAP principle, and is made up of the following elements:
Version control is just a way to track changes to files. Using proper version control can avoid lots of potential problems, including running old scripts by accident, losing files, or ending up with a folder full of documents with suffixes like “final_final_FINAL”. It also makes it much easier for new people to pick up your processes.
When you assume you make an ‘ass’ out of ‘u’ and ‘me’. Everyone knows this saying, yet few of us heed its warning.
The aim should be to leave your work in a state that others (including future you!), can pick it up and immediately find what they need, understanding the processes that have happened previously. Changes to files should be documented, and published versions should be clearly named and stored in their own folder.
As we work with code to process our data more and more, we can begin to utilise version control software to make this process much easier, allowing simultaneous collaboration on files.
Documentation

What does this mean?
You should be annotating as you go, ensuring that every process and decision made is written down. Processes are ideally written with code, and decisions in comments.
There should be a README notes file, that clearly details the steps in the process, any dependencies (such as places where access needs to be requested to) and how to carry out the process.
Any specialist terms should also be defined if required (e.g. The NFTYPE lookup can be found in xxxxx. “NFTYPE” means school type).
Why do it?
When documenting your processes you should leave nothing to chance, we all have wasted time in the past trying to work out what it was that we had done before, and that time increases even more when we are picking up someone else’s work. Thorough documentation saves us time, and provides a clear audit trail of what we do. This is key for the ‘Reproducible’ part of RAP, our processes must be easily reproducible and clear documentation is fundamental to that.
How to get started
Take a look at your processes and be critical - could another analyst pick them up without you there to help them? If the answer is no (don’t feel ashamed, it will be for many teams) then go through and note down areas that require improvement, so that you can revise them with your team.
Take a look at the sections below for further guidance on improving your documentation.
Commenting in code
When writing code, whether that is R or something else, make sure you’re commenting as you go. Start off every file by outlining the date, author, purpose, and if applicable, the structure of the file, like this:
Commented lines should begin with # (R) or – (SQL) followed by one space and your comment. Remember that comments should explain the why, not the what.
In SQL you can also use /** and **/ to bookend comments over multiple lines.
In rmarkdown documents you can bookend comments by using <!-- and -->.
Use commented lines of - to break up your files into scannable chunks based upon the structure and subheadings, like the R example below:
# Importing the data -------------------------------------------------------------------Doing this can visually break up your code into sections that are easy to navigate around. It will also add that section to your outline, which can be used in RStudio using Ctrl-Shift-O. More details on the possibilities for this can be found in the RStudio guidance on folding and sectioning code.
You might be thinking that it would be nice if there was software that could help you with documentation, if so, read on, as Git is an incredibly powerful tool that can help us easily and thoroughly document versions of our files. If you’re at the stage where you are developing your own functions and packages in R, then take a look at roxygen2 as well.
Writing a README file
What does this mean?
A README is a markdown file (.md) that introduces and explains a project. It contains information that is required to understand what the project is about and how to use it. Markdown (.md) files are used for READMEs because they support formatting and render nicely on platforms like GitHub and Azure DevOps, meaning that users can see them on the main page of the repository. You can find guidance on basic markdown syntax on the Markdown Guide.
Why do it?
It’s an easy way to answer questions that your audience will likely have regarding how to install and use your project and also how to collaborate with you.
How to get started
For new projects, you can use the create_project function in dfeR. Set create_publication_proj to TRUE to create a pre-populated project with a custom folder structure, including a README template. You can find more information on this in the dfeR reference.
If you are creating your own README for existing projects, you should include all of the sections listed below:
Introduction
- Purpose: briefly explain the purpose of the code.
- Overview: Provide a high-level summary of the contents and structure of the repository.
Requirements
- Access: Detail any permissions or access needed to use the repository at the top of this section, e.g. access to specific databases. This is crucial for enabling new users to use the repository.
- Skills/knowledge: Outline the required skills or knowledge, such as familiarity with specific packages in R.
- Version control/Renv: State how version control is managed and whether Renv is being used.
Getting started
- Setup instructions: Provide step-by-step instructions on how to set up the environment, including installing dependencies.
- Data input/output: Describe the expected input data and where it can be found, as well as what output should be expected from the code.
How to run and update
- Running the code: Explain how users can best run the code, for example by running a run all script.
- Updating guidelines: Outline the process for updating and contributing to the repository, including specific scripts and lines where updates are frequently needed. Describe how to get changes reviewed.
- Issue reporting: Explain how to report issues or suggest improvements. This could be through issues if using GitHub, boards in Azure DevOps or by emailing the team.
Contact details
- Main contacts: List the names and contact information of people who maintain the repository.
- Support channels: Provide any information on how to get support, such as email addresses or teams channels.
The Self-assessment tool and the QA app give two examples of readme files structured like this.
Version controlled final code scripts

What does this mean?
This means having the final copies of code and documentation saved in a Git-controlled Azure DevOps repo. For statistics publications, repos should be held within the official-statistics-production area. Access to DevOps is restricted only to people in DfE with specific account permissions. This is different to GitHub, which makes code publicly available.
If you do not already have Git downloaded, you can download the latest version from their website.
Take a look at the resources for learning Git in the learning resources section.
Why do it?
Having the final copy of the scripts version controlled gives assurance around how the data was created. It also allows teams to easily record any last minute changes to the code after the initial final version by using the version control to log this.
How to get started
The first step is to get your final versions of code and documentation together in a single folder.
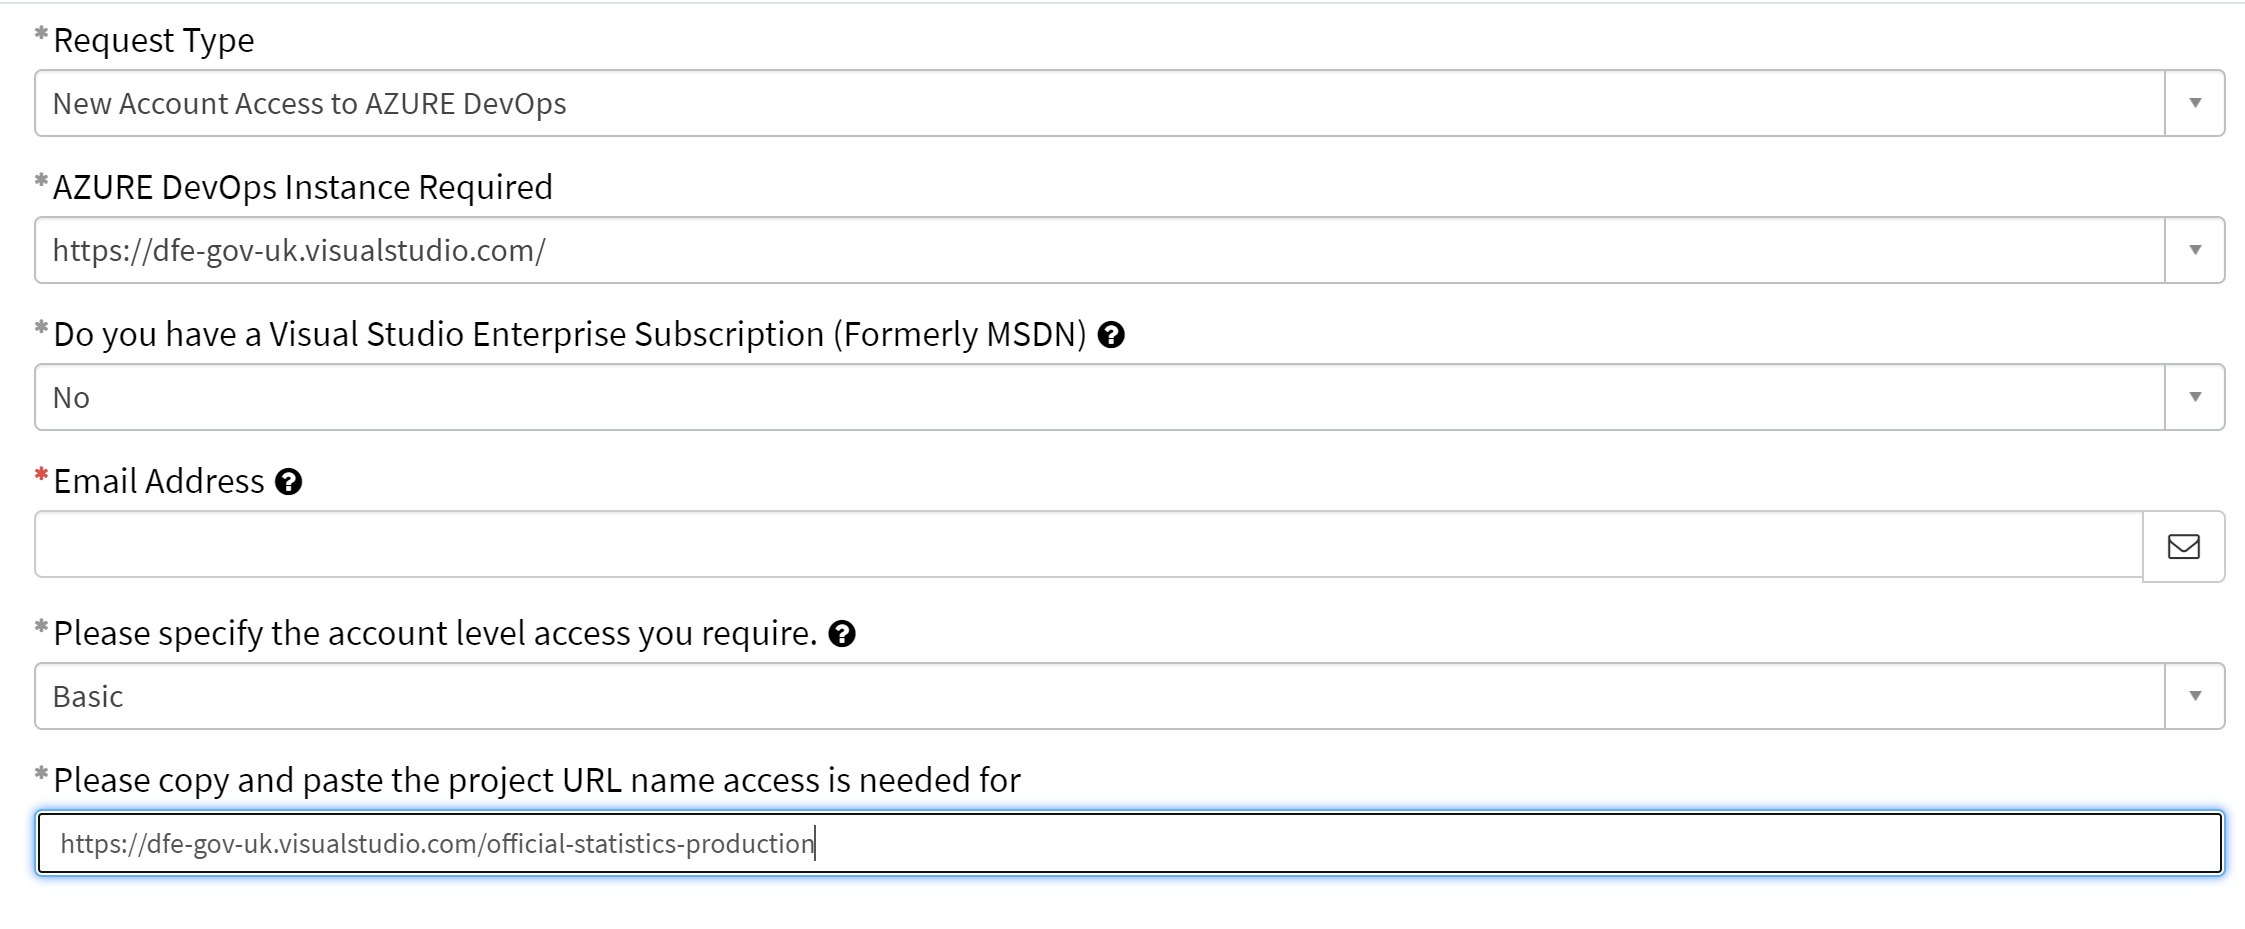
For statistics publications, we have a specific area set up for you to host your code in on the dfe-gov-uk instance of Azure DevOps, entitled official-statistics-production.
To gain access to this area, please raise a request on service desk by navigating through the pages detailed in the animation below.
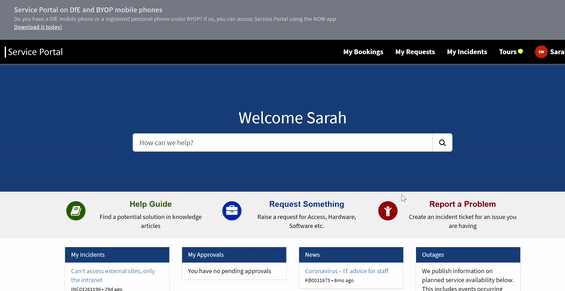
Once you have navigated to this page, fill out the form with the following details and send your request off.
Access is usually granted within a few working days. Alert the Statistics Development Team when this is confirmed, and we will set up your repository and give your team access.
For other areas, you will need to seek access from the relevant DevOps project administrator.
renv
We recommend the use of the renv package to help maintain consistent versions of packages within your work. You can learn more about how to use renv on our R page.
Avoid revealing sensitive information
Here are some general best practice tips:
- Using .gitignore to ignore files and folders to prevent committing anything sensitive
- Never committing outputs unless they’ve been checked over, even aggregates. We suggest only outputting to an output folder which is in the .gitignore file, to ensure this doesn’t happen by mistake
- Keeping datasets and secrets (e.g. API keys) outside the repository as much as possible, make use of secure variables
- Checking Git histories: if someone is planning on open-sourcing code that has previously been in a private repository or only version-controlled locally, you want to be careful not to have anything sensitive in the commit history. You can do this by following the above rules. When in doubt, you can remove the git history and start the public repo without it
- You can remove a file from the entire commit history if you did commit anything sensitive, although you still need to follow the usual procedures if this was a data breach
You can find out more in the Duck Book’s guidance on using Git.
Collaboratively develop code using Git

What does this mean?
Has code development taken place in Git, collaboratively across the team?
Are you making use of pull requests for team members to review and comment on code updates?
Is there a clear paper trail of changes to code (commits)?
Why do it?
Using Git allows multiple people to simultaneously develop the same code using branches, all with a crystal clear audit trail showing what changes were made when using commits. It makes it easy for team members to review changes via pull requests.
How to get started
To get started you should:
Get your code into a Git controlled folder
Get code into a Git controlled folder in whatever version it is currently in. Use the following steps to do so:
Open the folder where your project is saved, right click anywhere in that window, and click “Git Bash Here”.
This will open a black box (the terminal). Type in the following and hit enter
git init- After hitting enter, type in the following and hit enter again after each line. You will need the URL of your Azure DevOps repository to complete this step. Contact the Statistics Development Team if you are not sure what this is or do not have one.
git add .

git commit -m "first commit"

git remote add origin YOUR_URL_HERE

git push -f origin --all
You may be prompted for either your Windows or Git credentials at this stage.
If prompted for your Windows credentials, enter the username and password combination you use to log into your DfE device.
If prompted for your Git credentials, visit your online repository, click on the blue “clone” box, and click “generate Git credentials”. This will generate a username and password for you to enter.
- Visit your repository online, and check that all the files have uploaded. Other members of your team will now be able to work from your code.
Build capability within the team
Ensure all team members have access to your repository. Contact the Statistics Development Team if there are any issues.
Get team members to clone your repository in to their personal area, so everyone is able to work on code at the same time.
To clone code, they will need to do the following:
Run through steps 1 - 2a of getting a file into a Git controlled folder
After running those lines, type in the following with your repository URL in the “YOUR_URL_HERE” space. This will clone the online repository to your local area.
git clone YOUR_URL_HEREMake use of Git and version control in your team projects regularly. Like learning anything new, putting it into practice regularly is the best way to become confident in using it.
Please refer to the other links on the Git learning resources page to learn more about how to use Git in practice.
Integrating RAP principles into spreadsheets
In some cases, spreadsheet tools like Microsoft Excel are still used for some types of analysis, particularly ad hoc, exploratory, or early-stage work. While the long-term aim is to move towards fully (RAP) processes using code, this section outlines how RAP principles can be applied to spreadsheet work to improve quality, transparency, and maintainability, even before moving fully into code.
You can see an example case study of RAP principles being applied to spreadsheet based analysis on the RAP case studies page.